
はじめに
Webの技術でデスクトップアプリを作れたら便利ですよね。ElectronならWeb技術だけでWindowsやMacのデスクトップアプリケーションをサクッと作ることができます。ちょっと前はNode-Webkitとかもあったんですが、今ではすっかりElectronのほうが有名ですね。VS CodeとかatomもElectronで作られていますし。
今回は、Vue3.0 + Electronを使ってデスクトップのメモアプリの作成の仕方を書いていこうと思います。
使用した環境は次のとおりです。
- OS : macOS Catalina 10.15.7 (WindowsでもNode.jsが使用できれば大丈夫です。)
- Node.js : v14.2.0
- @vue/cli : 4.5.7
Vue 3.0 のプロジェクトの作成
Vue 3.0の環境を作るのに@vue/cli 4.5.7を使用しました。
@vue/cliでVue3.0のプロジェクトを作成していきます。
$ vue create sample-electron-memo

Vue CLI v4.5.7
? Please pick a preset:
  Default ([Vue 2] babel, eslint)
❯ Default (Vue 3 Preview) ([Vue 3] babel, eslint)
  Manually select features

・・・・ 省略

🎉  Successfully created project sample-electron-memo.
👉  Get started with the following commands:

 $ cd sample-electron-memo
 $ yarn serve
今回は、Default (Vue 3 Preview) ([Vue 3] babel, eslint)を使用しました。
Typescriptなどを使用したいとか、細かな調整をしたい場合は、Manurally select featuresを選択します。
 $ cd sample-electron-memo
 $ yarn serve
で、ブラウザ上でvue 3.0の動作を確認できます。デフォルトではhttp://localhost:8080で動作していますので、ブラウザで確認します。
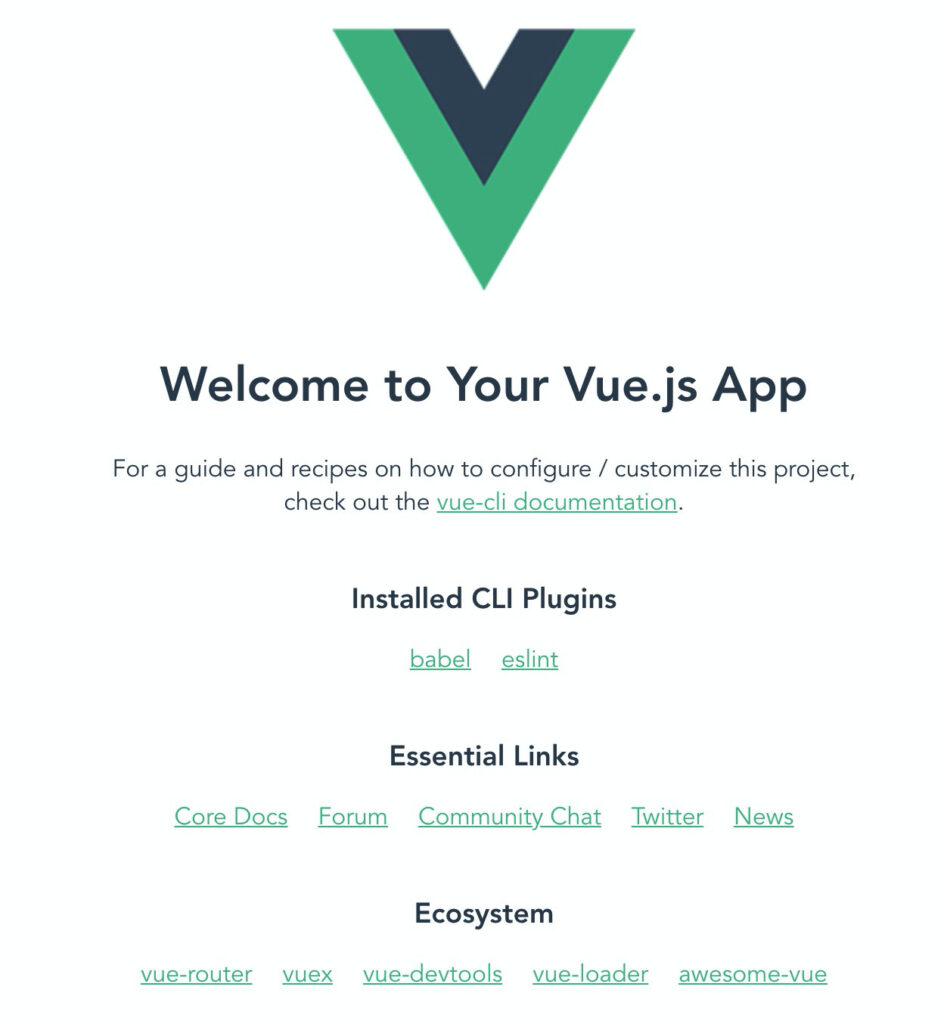
Vue 3.0の初期画面
Electron Builerのインストール
次は、VueのWebアプリケーションをデスクトップアプリにするElectronをインストールします。ここでは、Electron BuilderというVueのプラグインを使用します。
$ vue add electron-builder

・・・・ 省略

✨  Done in 18.09s.
✔  Successfully installed plugin: vue-cli-plugin-electron-builder

? Choose Electron Version (Use arrow keys)
  ^7.0.0
  ^8.0.0
❯ ^9.0.0

・・・・ 省略
success Saved lockfile.
$ electron-builder install-app-deps
  • electron-builder  version=22.8.1
✨  Done in 16.06s.
⚓  Running completion hooks...

✔  Successfully invoked generator for plugin: vue-cli-plugin-electron-builder
ここでは、ElectronのVersionは9.0.0を選択しました。
次に、VueアプリケーションをElectronのデスクトップアプリケーションとして起動します。
$ npm run electron:serve今度は、ブラウザで確認しなくても、デスクトップアプリケーションとして起動します。ただし、まだデバッグモードで起動しているため、Chromiumの開発者ツールが表示されています。
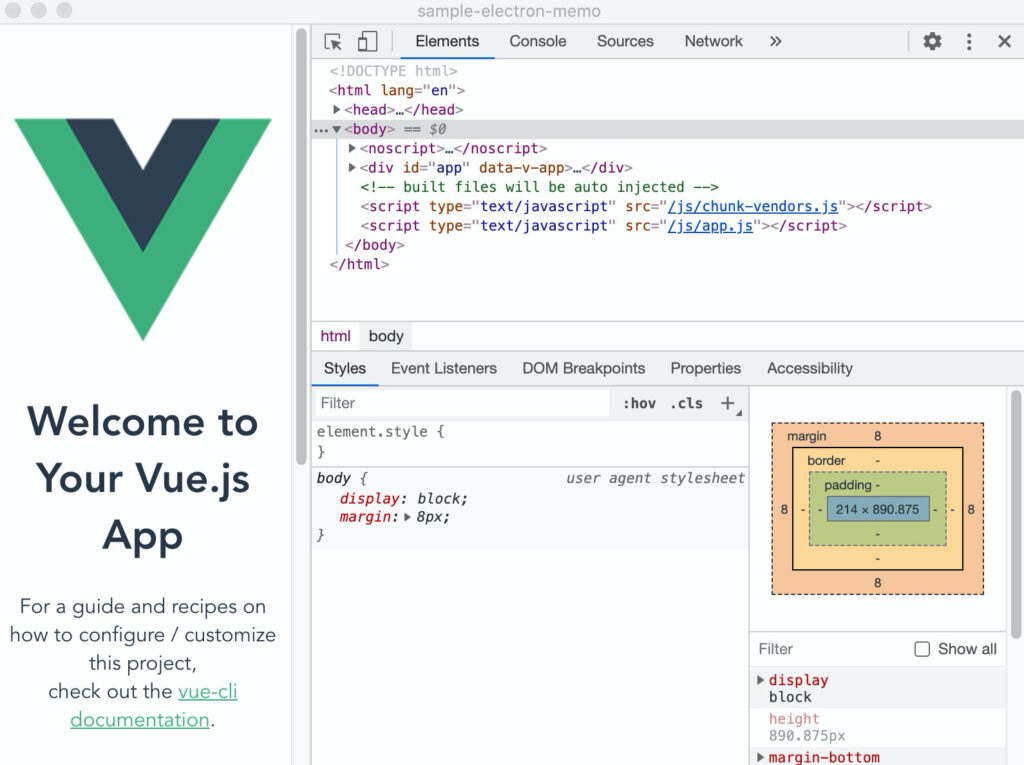
Electronのデスクトップアプリ
Electronのアプリとしてこのままでの動作しますが、Vue側でElectronのモジュールを読もうとするとエラーが出るので、プロジェクトのルートディレクトリにvue.config.jsを作成して下記のとおり記述します。
module.exports = {
  pluginOptions: {
    electronBuilder: {
      nodeIntegration: true
    }
  }
}
メモ帳アプリの作成
メモ帳画面の作成
ここから、メモ帳アプリの外観を作っていきます。
src/App.vue と src/components/HellowWorld.vueをメモ帳の外観になるように書き直していきます。
src/App.vueの最初にあるVueのロゴを消します。それにスタイルからmarginを消し、代わりにheightを指定します。また、bodyのスタイルも変更します。
<template>
  <HelloWorld msg="Welcome to Your Vue.js App"/>
</template>

<script>
import HelloWorld from './components/HelloWorld.vue'

export default {
  name: 'App',
  components: {
    HelloWorld
  }
}
</script>

<style>
#app {
  font-family: Avenir, Helvetica, Arial, sans-serif;
  -webkit-font-smoothing: antialiased;
  -moz-osx-font-smoothing: grayscale;
  text-align: center;
  color: #2c3e50;
  height:100%;
}
body{
  height:100vh;
  margin:0px;
  padding:0px;
}
</style>
src/components/HellowWorld.vueは、メモ帳にするためにざっくり書き直します。「ファイルを開く」と「ファイルを保存」とtextareaだけの構成にします。
textareaは、text変数とバインディングします。
<template>
  <div style="height:100%;display:flex; flex-direction: column;">
    <div style="display:flex">
      <button>ファイルを開く</button>
      <button>ファイルを保存</button>
    </div>
    <div style="width:100%;flex-grow: 1;">
      <textarea style="width:100%;height:100%;box-sizing: border-box;" v-model="text">
      </textarea>
    </div>
  </div>
</template>

<script>
export default {
  name: 'HelloWorld',
  props: {
    msg: String
  },
  data:function(){
    return {
      text:"",
    }
  },
}
</script>

<!-- Add "scoped" attribute to limit CSS to this component only -->
<style scoped>
</style>
スタイルの指定は直接書いてしまっていますが、雰囲気だけなので、今回はこのまま進めてしまいます。
この状態で、だいぶメモ帳らしい外観になります。ここまでは、VueのWebアプリケーションでもできることです。
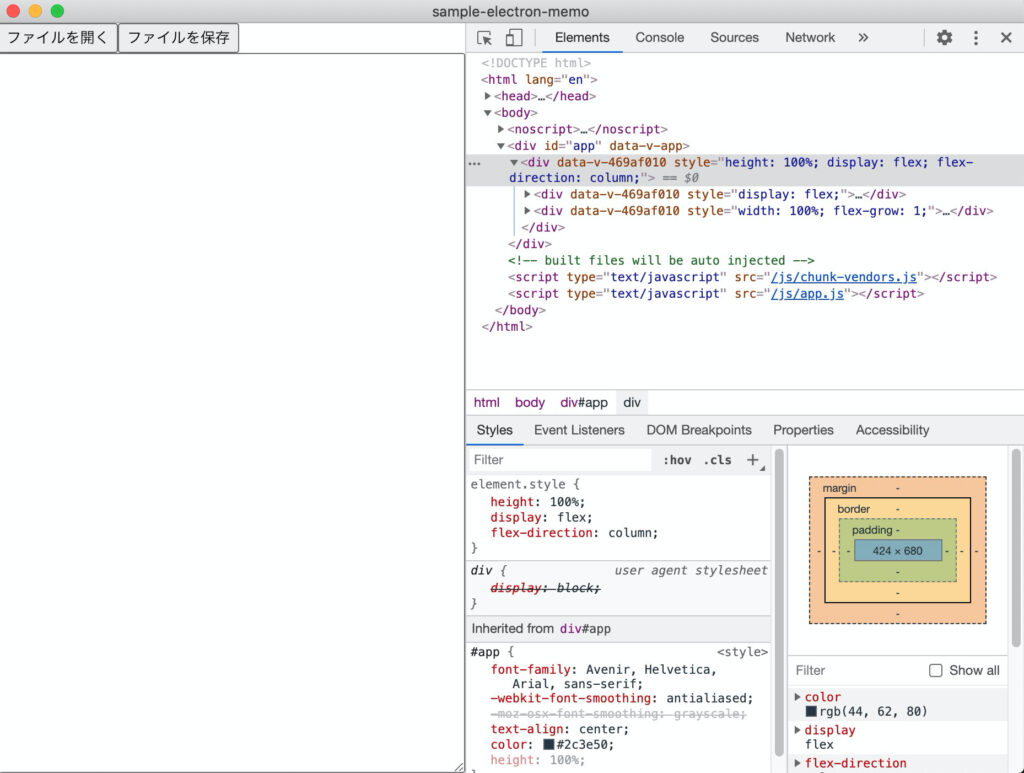
メモアプリの外観(デバッグモード)
ファイルを開く
ファイルを開いたり保存したりする機能は、通常のWebアプリケーションだと完璧にはできません。ファイルを開くことはHTML5のFile APIを使用すればできますが、保存する機能はWebアプリケーションだと実装できず、ダウロードするような実装になってしまいます。
ここでは、HTML5のFile APIを使用するのではなく、Electronのメソッドを使用してファイルを開く、ファイルを保存する操作を実装します。
最初に「ファイルを開く」のクリックイベントを定義していきます。File APIの代わりに、ElectronのファイルオープンダイアログとNode.jsのreadFileSyncを使用します。
// 省略
      <button @click="open">ファイルを開く</button>
// 省略

<script>
const { dialog } = require('electron').remote;
const fs = require('fs');

export default {
  name: 'HelloWorld',
  props: {
    msg: String
  },
  data:function(){
    return {
      text:"",
    }
  },
  methods:{
    open:function(){
      const options = {
        title: 'ファイルを開く',
        filters: [{ name: 'Documents', multiSelections: false, extensions: ['txt','*'] }],
      };
      const result = dialog.showOpenDialogSync(options);
      if (result.length) {
        this.text = fs.readFileSync(result[0]);
      }
    }
  }
}
</script>
ElectronとNode.jsのfsモジュールをインポートします。
const { dialog } = require('electron').remote;
const fs = require('fs');
「ファイルを開く」ボタンがクリックされたときのイベントを定義します。File APIを使用しないでファイルを開くことができるのがElectronのすごいところです。ElectronのdailogモジュールのshowOpenDailogSyncメソッドを使用して、開くファイルを指定します。
次に、ファイル選択がされていたら、fs.readFileSyncでファイルを開きます。ここの書き方はNode.jsと同じですね。
    open:function(){
      const options = {
        title: 'ファイルを開く',
        filters: [{ name: 'Documents', multiSelections: false, extensions: ['txt','*'] }],
      };
      const result = dialog.showOpenDialogSync(options);
      // resultはstring[]
      if (result.length) {
        this.text = fs.readFileSync(result[0]);
      }
    }
ファイルの保存
ファイルの保存も先程のファイルを開く処理とほとんど同じです。save()メソッドを追加して、保存処理を書きます。
<template>
// 省略
      <button @click="save">ファイルを保存</button>
// 省略

<script>
// 省略
export default {
// 省略
  methods:{
// 省略
    save:function(){
      const options = {
        title: 'ファイルを開く',
        filters: [{ name: 'Documents', extensions: ['txt'] }],
      };
      const result = dialog.showSaveDialogSync(options);
      // resultはstring
      if (result) {
        fs.writeFileSync(result, this.text);
      }
    }
  }
}
</script>
ビルドする
実行ファイルとしてビルドするには、下記のコマンドを使用します。
$ npm run electron:builddist_electronディレクトリにビルド結果が出力されています。
Macを使用している場合は、デフォルトだとWindowsアプリにビルドされません。Windowsアプリにビルドしたい場合は、package.jsonを書き換えます。
{
// 省略
  "scripts": {
// 省略
    "electron:build": "vue-cli-service electron:build --mac --win", <-- この行を書き換える
// 省略
  },
}
まとめ
Electronを使用すると、Webの資産そのままにデスクトップアプリを作成することができます。今は、VS CodeもElectronで作成されるぐらいなので、Webの技術があれば大抵のことはできるようになりました。
ちょっとしたデスクトップアプリが欲しい場合にはElectronはすごく便利なので使ってみてください。
今回作成したアプリをgithubで公開しています。参考にしていただけると嬉しいです。

コメント